Best 8 Steps Shortening the Brake Line: Correctly Cut to Length and Reconnect it
Shortening the Brake Line: Correctly Cut to Length and Reconnect it
Anyone who buys a new brake usually has to shorten the brake line and thus individually adapt it to their bike. However, this requires a few special tools and handles to achieve the optimum length and guarantee proper installation. In this guide, we, therefore, explain step by step how you need to shorten the brake line.
Who does not know it: The own bike should be equipped with a new brake, but the line is much too long. The reason for this is that all manufacturers rely on a standard size to cover all possible applications and frame sizes. But the exact length and cutting of the cable is not witchcraft and can be done with little effort. How exactly, we explain in this guide.
Details on the brakes used can be found in the following articles.
MTB assemble yourself: Configure the perfect bike in 12 steps
Shimano XT brake in detail
Required tools and aids
To be able to shorten the brake line, no special tools are needed to operate properly, but it simplifies the process enormously. The following tools are required:
Cutting tool (recommendation: Shimano 2-1 brake line tool).
Press-in tool for the insert pin (recommendation: Shimano 2-1 brake line tool)
Open-end wrench (recommendation: a set of 8)
Allen wrench set (recommendation: Hazet bit holder 2253 with Hazet BiteBox)
Torque wrench (recommendation: Hazet 5107-2CT 1 to 9 Nm)
Assembly stand (recommendation: Topeak PrepStand Elite)
Optional: Work gloves (Recommendation: Light nylon knitted gloves)
Shortening the brake line: This is how it works!
The following steps show the necessary operations to shorten a brake line. It is important – as with all work on the bike – the correct execution to ensure error-free operation.
Step 1:
To be able to work comfortably on the brake line, the frame or the bike should be clamped in a stable assembly stand. This facilitates the handling immensely.
Mount inner bearing: Quick installation without much effort [Instructions]
Step 2:
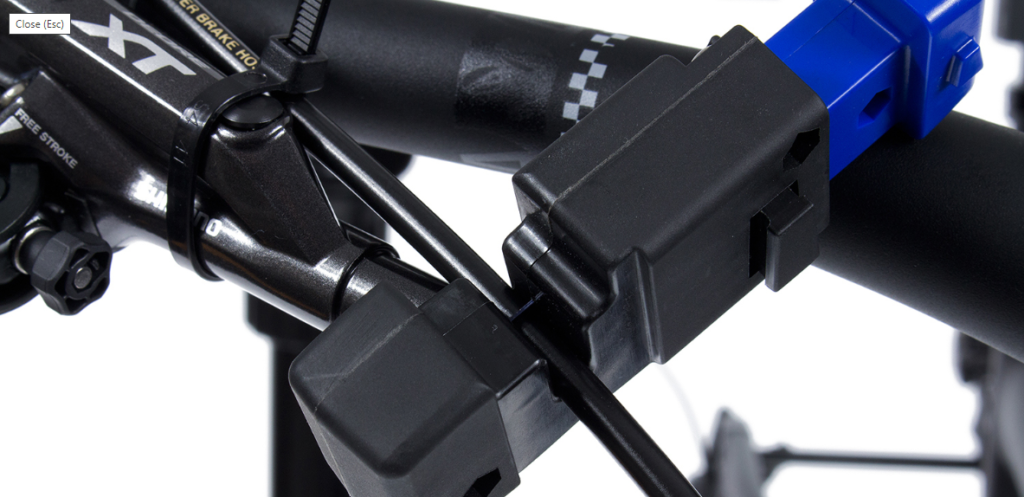
Before the exact cable length can be determined, the lever and brake caliper must be screwed to the handlebar and frame with the correct torques according to manufacturer specifications. The clamp on the handlebar should be tightened to 3 Newton meters. For the brake caliper, Shimano specifies 6 to 8 Newton meters. It is important that the positioning of the line is accurate in the process. With full-suspension frames, it should be checked in both end positions of the rear triangle whether the line lies cleanly in the fixing points without tension.
Step 3:
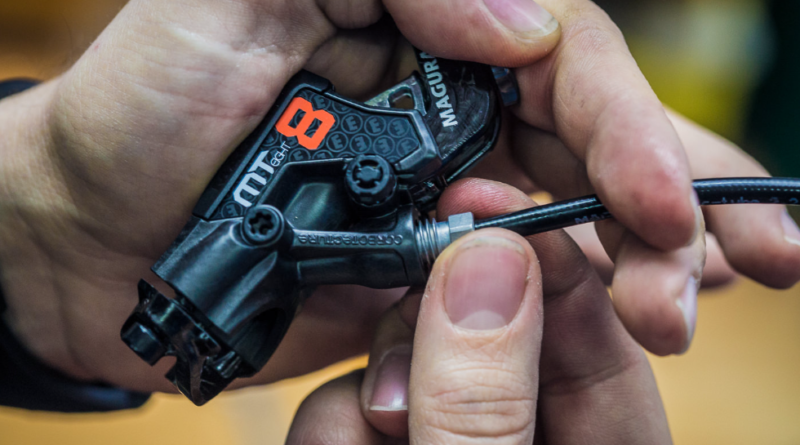
The brake line must then be detached from the lever. Although this step is to be carried out in all cases, it must be done before mounting the brake discs lever in the case of frames with internally routed cables. To loosen the brake line in the case of the Shimano XT model, first, push down the rubber cap and then loosen the screw with an 8-millimeter open-end wrench.
Step 4:
To be able to shorten the brake line, the correct length must now be found. To do this, the handlebar should be turned 180 degrees. This measurement plus five centimeters of clearance is considered the optimum length. Such a buffer counteracts damage in the event of a fall, as the handlebar can turn in accordingly far without the line tearing off due to excessive tension.
Step 5:
Now the cable can be cut with a suitable and sharp tool at the appropriate position. It is important to cut straight and not crush the line.
Step 6:
After the brake line has been shortened, a new olive must be pushed onto the line in addition to the fastening screw and the rubber cover. Only then is the insert pin pressed in.
Step 7:
The insert pin is pressed in using a 2-in-1 tool from Shimano. To do this, clamp the disc brake line in the holder and insert the insert pin into the head of the press-fit bolt. The latter must be so prepared and inserted into the tool. When the hand lever is pressed down, the pin is now pressed in cleanly and, above all, straight. Alternatively, the whole thing can also be done with the two jaws from the brake accessories, a hammer, and a vice. However, this method involves a significantly higher risk of damage.
Step 8:
Finally, the brake line must now be reattached to the lever with the 8-millimeter open-end wrench. Here Shimano specifies a torque of 5 to 7 Newton meters.
The brake line is now suitably shortened! The next step is bleeding to ensure full functionality.


